
What’s In My Single Pitch Climbing Instructor Pack?

Working as a Single Pitch Rock Climbing Instructor requires a lot of tools to get the job done. Though not every climber is a climbing instructor, learning what the professionals use to do their job is a great way to see what you might want to add to your gear bag before you head out for a day at the crag!

45-65 Liter Pack
Taking a sturdy pack with a hip belt that is plenty big enough is one of the keys to being able to carry the necessary equipment for climbing and also being able to do it in style! Looking for something in the 45-65 liter range is perfect for a day of single-pitch rock climbing. I started using the haul bag style and it makes it super easy to stuff in your gear for the day and not have it hanging off the sides.
Pro tip: put as much as you can inside your pack, not only does it make you look more pro, but it is also safer because you are more balanced and won’t snag on things as you approach!

UIAA Approved Rock Climbing Harness
Your harness is one of your key safety items. You tie into it, belay off of it, rack your gear on it, and wear it all day. Harnesses and fit are very personal, but choose something with adjustable leg loops, comfortable padding, and AT LEAST 4 gear loops. I like harnesses with 4 full sized gear loops as well as space for ice clippers so I can use the same harness for ice climbing. We all love versatility, right?

Rock Climbing Helmet
Foam or plastic, to be or not to be? That’s the real question. When thinking plastic helmets, think durability. Those things can take a beating and I know folks who have plastic helmets for years; however, they are heavy and hot. All guides I know wear a foam helmet nowadays. Though not as durable as plastic, they are much lighter and much more breathable (a huge plus on those steamy Texas days)! Toss on a flat brim cap underneath and folks will be asking you for beta next!
Pro tip: climbing helmets should be retired after 10 years regardless of use!

Traditional Climbing Rack
The trad rack, everybody has their thoughts on what you should carry on yours. In reality, the best trad rack has a couple components: 1) you are familiar with the gear on it and are comfortable placing and evaluating it and 2) it makes sense for the terrain you are climbing in. If you are not familiar with tri-cams, you probably shouldn’t toss them on your rack. If the area you are climbing takes mainly small gear, you probably don’t need to pack in the #4 and #5 camalot. For a more in-depth look at what is in my rack, visit my other blog post here.

Dynamic Climbing Rope
In climbing, the rope is your lifeline. It connects you to your partner and the anchor. A dynamic climbing rope is an essential when climbing. The dynamic material allows for the rope to stretch when you fall allowing the shock to be absorbed by the rope rather than your spine! When looking for a dynamic rope, find something that is 9.5 mm or bigger in diameter and at least 60 meters long. For top-roping and single pitch climbing, larger diameter ropes will last longer! 60 meters is the standard pitch length; however, there are some 70 meter routes out there, so check the guidebook before you head up something that looks a bit tall!

Static Rigging Rope
A static rope is an essential SPI tool, but should be considered for recreational top rope outings as well! A good 100’ static rope can easily replace old-school 1/2“ webbing and is invaluable at places like Mineral Wells State Park with widely spaced anchoring options!

Anchor Material
In addition to the static rope, it is important to have a variety of materials to build anchors with. You might not know what the anchor opportunities are at the climbing site, so you need options. I bring 2 cordalettes that are 7-8mm in diameter and 18-20 feet long. I also bring 2 double-length runners (1 nylon and 1 dyneema) and 1 triple-length runner for equalizing gear placements, slinging horns, and rescue applications. I always bring a nylon runner because they are best for friction hitches!
Pro tip: If I am leading and know there are bolts at the top of the pitch, I will pre-tie a cordalette into a quad, clip the carabiners for the bolts and for the master point to it, and carry that with me as I climb!

Belay Devices
A variety of belay devices is important to have for an SPI. I will have two automatic breaking devices (aka ABDs), a Petzl Gri Gri (that I keep on myself at all times) and an ATC Pilot (for my guest if they are lead belaying me). Lead climbing is the riskiest part of the day for the instructor and having my guest belay me with an ABD just gives me the warm and fuzzies! I will also have a few tubular style devices such as the Petzl Reverso for normal top rope belaying and rappelling.

Carabiners
As an SPI, you need A LOT of carabiners. If you think you have enough in your pack, toss in a few more just to be on the safe side. Typically, I bring 10 locking carabiners. 5-6 of those are large HMS style carabiners used for anchor master points and belaying, I am a fan of these DMM carabiners. 3-4 of those are D-shaped carabiners for anchor building, I like these Black Diamond ones. Lastly, I like having some old school oval carabiners, they make great master points! For various non-locking carabiners, I will just cannibalize my alpine draws and not count those in my daily carabiner count.
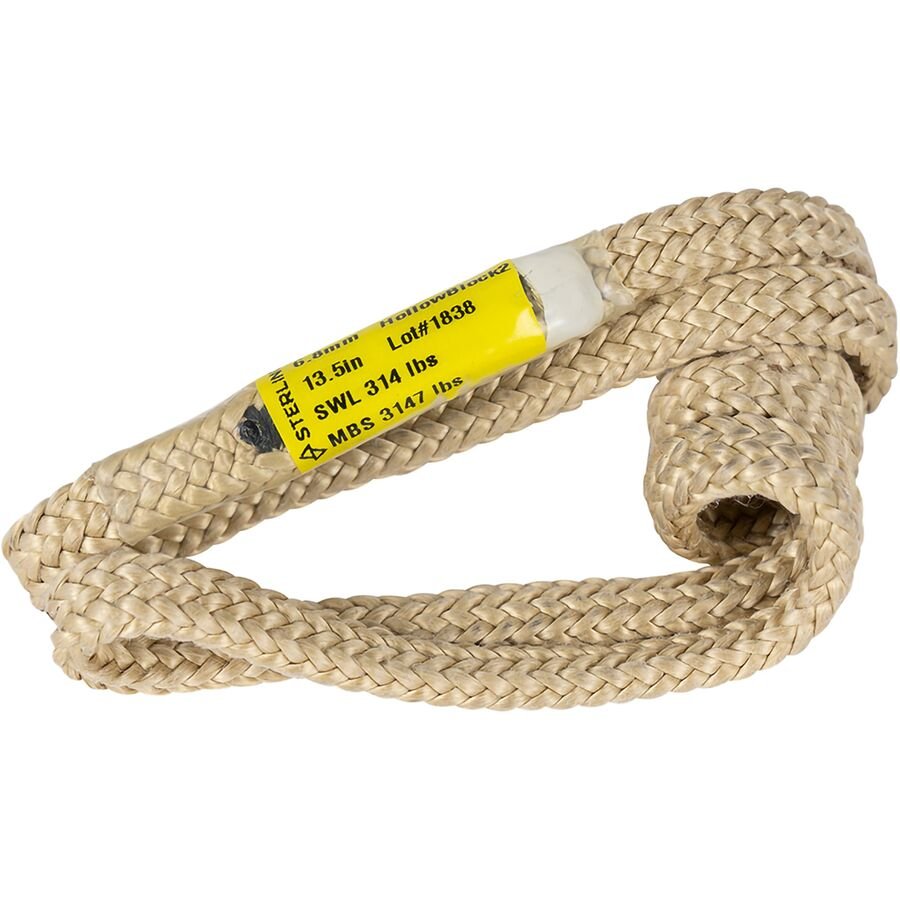
Friction Hitch Material
Friction hitches are important for rappeling third hands, ascending a rope, building a hauling system, or backing yourself up as your guest lowers you down. You can make your own friction loops with cordalette and prusik knots, but I am a big fan of the hollowblock. It is much smoother, has better surface area which gives better friction, and is just simpler!

First Aid Kit
I like to carry two first aid kits. One is a small “patch up” kit that I keep in the top of my back. This has small bandaids, climbing tape, a blister kit, Advil, and Benadryl in it. In the bottom of my pack is my “trauma” kit, that I hope doesn’t have to be busted out. In that kit are shears, heavy pads, more tape, large bandages, roller gauze, CPR mask, epinephrine, and a SAM splint. These are just some of the items that I carry and adjust as needed, so make your first aid kit your own!
Pro tip: if you are regularly recreating outdoors, seriously consider getting some wilderness first aid training! A Wilderness First Aid is invaluable knowledge to have to be a responsible outdoors recreator!

Guest Care Kit
In addition to my first aid kits, I carry another small bag in the top of my pack that is a care kit for my guests. These are simple things to make life easier! Inside are more athletic tape, sunscreen, bug spray, lip balm, a trash bag, toilet paper, and feminine hygiene products.
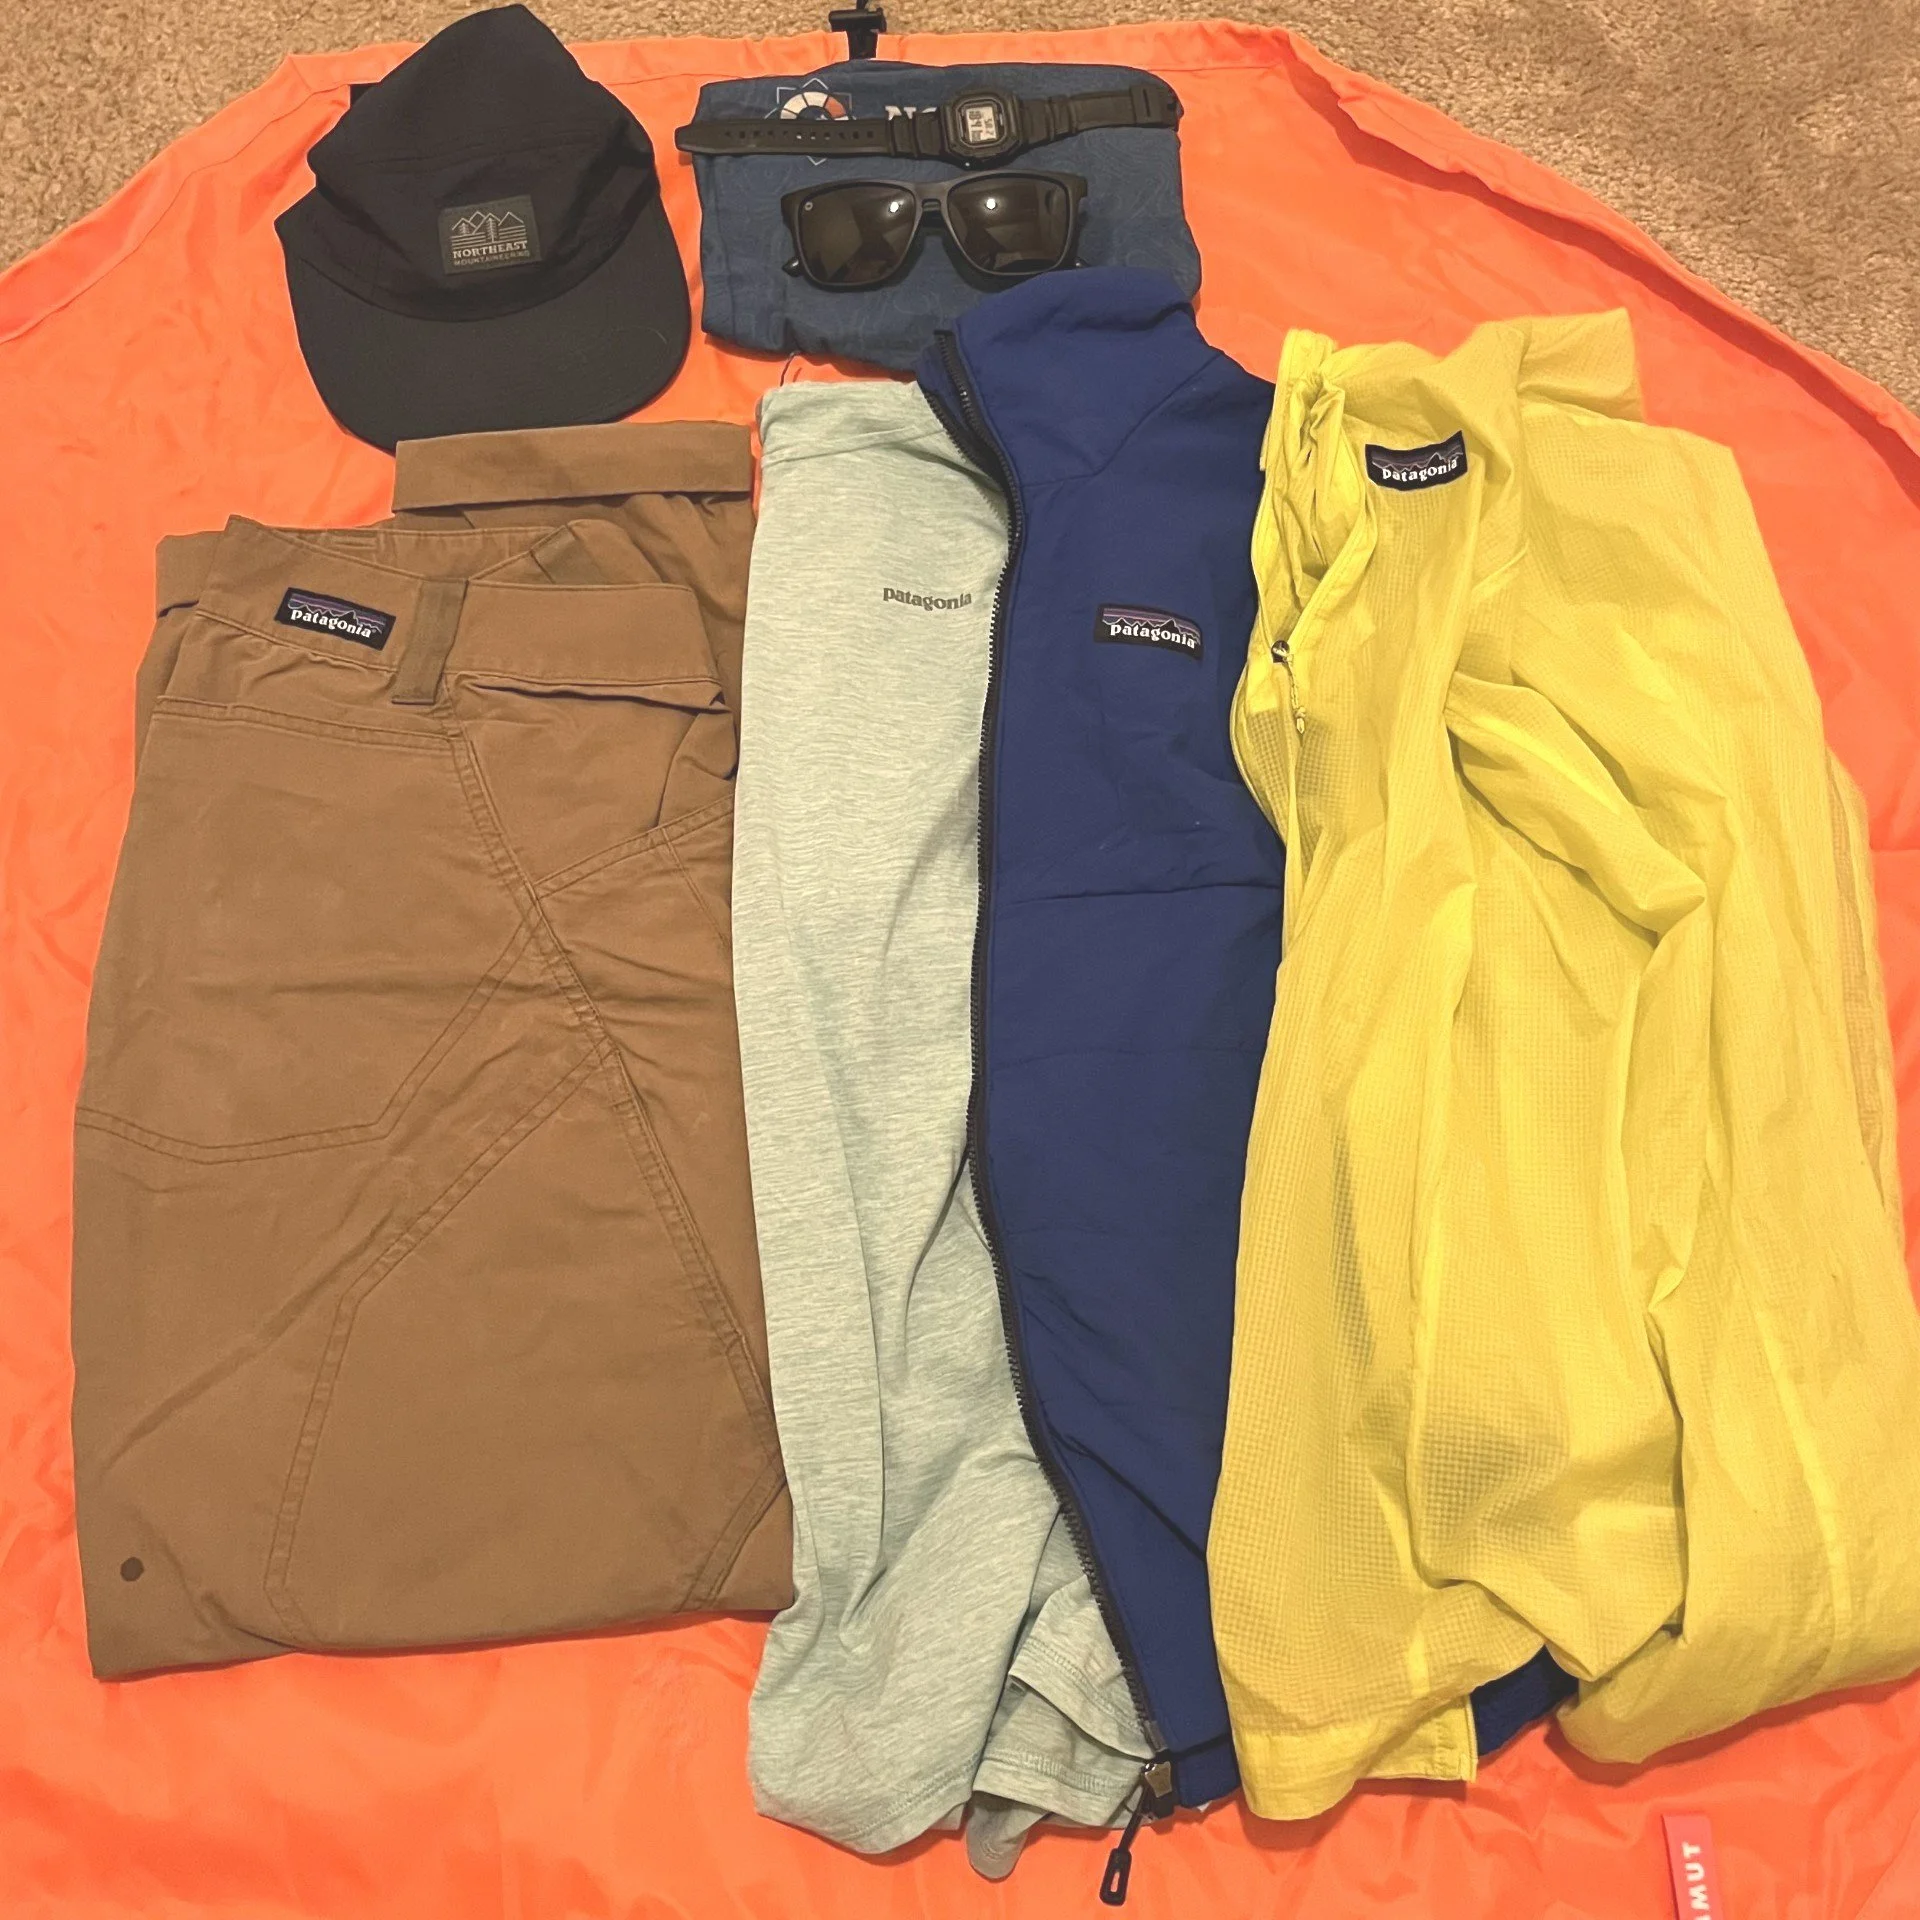
Clothing and Layers
Layering systems are so climate dependent and differ all the time. The important thing is to know what works for you and to do that, you just have to experiment! The general rule of thumb is that “cotton kills” due to its knack of absorbing moisture. Its probably a good idea to swap your jeans for some wicking pants and t-shirt for something more breathable! Personally on a day of climbing in the spring in Texas, I’ll wear long pants, I don’t like climbing in shorts; a wicking sun hoody; a vest, like the Patagonia Nano Air, for the chilly morning; a wind layer, like the Patagonia Houdini; and a five panel hat that fits nicely under my helmet. Throw on a pair of sunglasses and you’re set! Stay tuned for another blog post that goes more in depth about layering systems!
Hydration and Nutrition
The old saying is that an army runs on its stomach and the same is true for climbers! Nutrition and hydration is different for everybody, but I am a big fan of bringing real foods (like summer sausage, cheese, carrots) instead of bars. It’s just easier for me to eat! However, I will toss in more food than I need so I have something to hand off to guests if they forget food or run out! Some cookies or candy is also a fun snack to bring along to share with the group!
Pro tip: bringing a thermos of ice cold lemonade or koolaid for the group is an awesome way to beat the Texas heat!

Footwear
On an SPI day, I will bring two pairs of shoes, my approach shoes and my climbing shoes. I know Chacos are wonderfully comfortable for wearing around, but they might not be the best for scrambling and being sure-footed near the cliff edge. I love my La Sportiva TX2 Evos as my approach shoes. They are comfortable, breathable, durable, and climb surprisingly well! For my climbing shoes, I wear the La Sportiva TC Pros. They are wonderful trad climbing shoes! As an SPI, you don’t need very aggressive shoes, its more important that they are stiff, comfortable, and sized correctly!
Miscellaneous Items
There is always extra stuff to throw in the pack and this list is always changing as I find new tips, items, or decide that I don’t need certain things! I’ll bring several different sized gloves for belaying and rappelling; edge protectors for the rope (cut up carhartt pants are awesome); my guide notebook with SOAP notes, emergency action plans, and lesson plans; and a laminated sheet of white paper for an in-the-field whiteboard. I’ll also bring a satellite communication device, which is a cheap insurance policy for injury or if you lose cell service! I am a big fan of the Zoleo device, it’s cheaper than a Garmin In Reach but has the same functionality and connects to your phone for text messages as well!
As a note, this post does contain affiliate links. This just helps me with my business! If you make a purchase based on one of my recommended links, I’ll get a small percentage that goes right back into the business! When purchasing climbing gear from Amazon, be sure that the store is reputable and be wary of fakes! The items in my links are vetted and legitimate.